| Using a PC/laptop for router settings
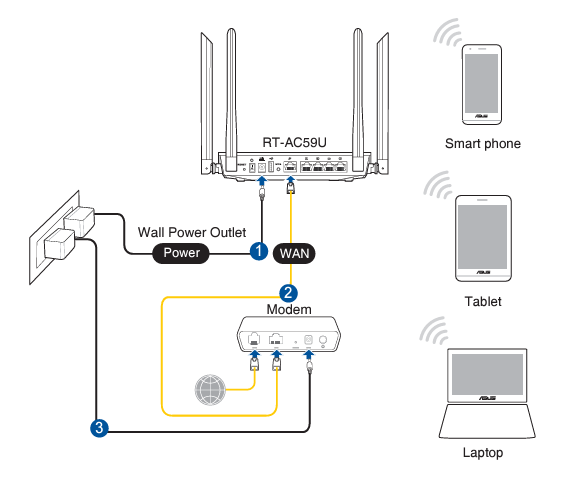
Step-1. Connect the router
(1) Turn off the modem (ONT)
Note that the modem means the Optical Network Terminal (ONT) device, known as a fibre box.
(2) Connect the modem (ONT) to the router’s WAN port with an Ethernet cable.
(3) Turn on the modem (ONT), and then wait about 2 minutes for it to restart.
(4) Connect the power adapter to the router and turn on the router.
Step-2. Access the router
Option-1. Wired: Turn off the Wi-Fi on your computer and connect the devices as shown below.

Option-2. Wireless:
a) Find the SSID (Wi-Fi name) and a password printed on the label at the bottom of the router.
b) Click the network icon of your computer or go to the Wi-Fi settings of your smart devices, and then select the SSID (Wi-Fi name) to join the network.
Step-3. Setup the router
(1) Open a web browser (e.g. Chrome, Safari, Firefox, etc.) and type the default gateway address (e.g. 192.168.1.1 or http://router.asus.com).
Note that the PC you use should be connected to the router via Wired (LAN port) or Wireless (Wi-Fi).
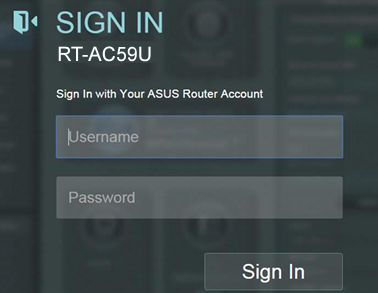
(2) On the login page, key in the default username (admin) and password (admin).
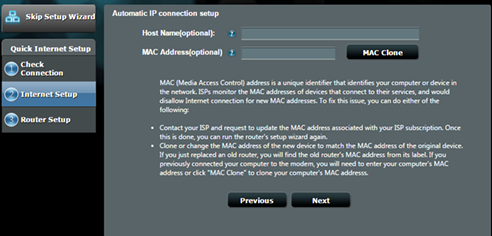
(3) [Setup Wizard] Internet connection type: Dynamic IP (Automatic IP or DHCP)
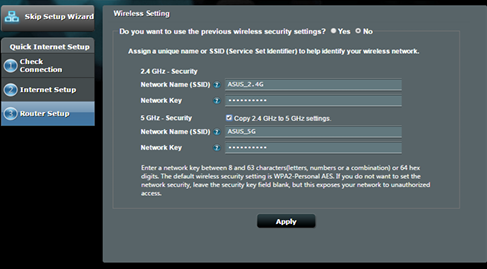
(4) [Setup Wizard] Wireless Settings
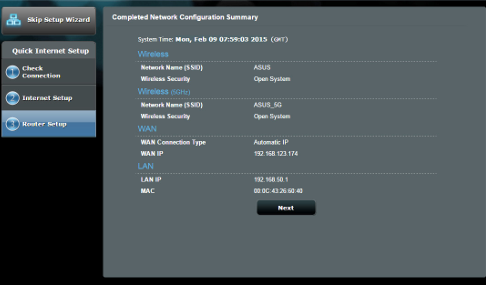
(5) Setup is complete
Step-4. Advanced Settings (If necessary)
(1) WAN
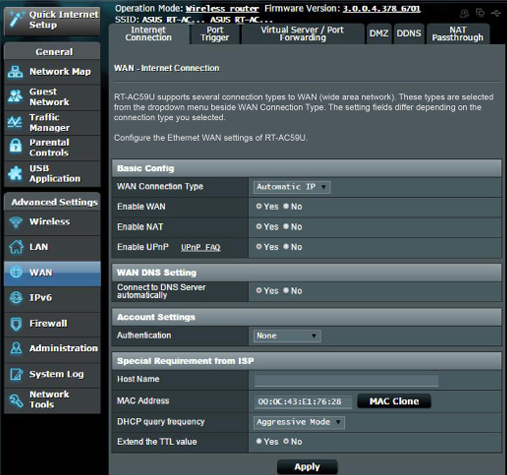
– WAN Connection Type: Automatic IP
– Enable WAN: Yes
– Enable NAT: Yes
– Enable UPnP: Yes
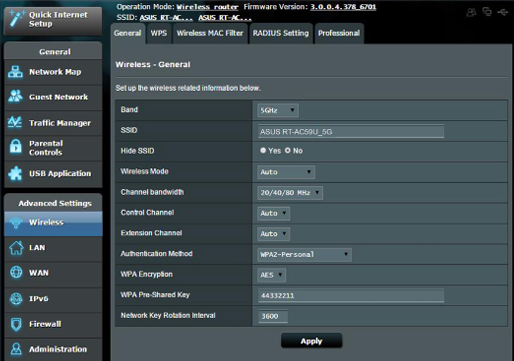
(2) Wireless (Wi-Fi)