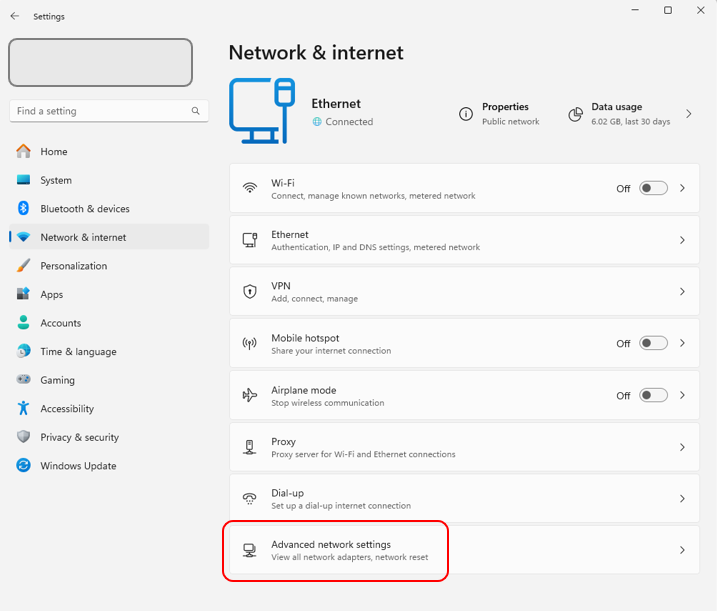
Right-click the network icon in the taskbar (bottom right) and select “Open Network & Internet settings.”
2. Click on “Advanced networking settings”
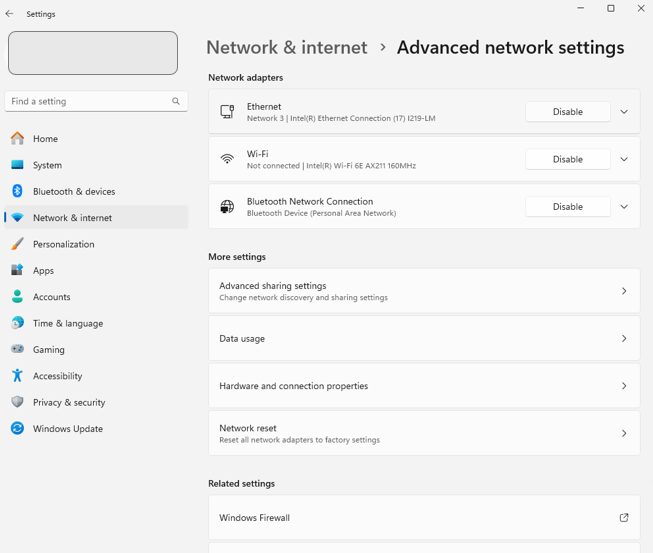
3. Select Ethernet or Wi-Fi Adapter (e.g. Ethernet):
If you’re using a wired connection, click on Ethernet.
If you’re using Wi-Fi, click on Wi-Fi.
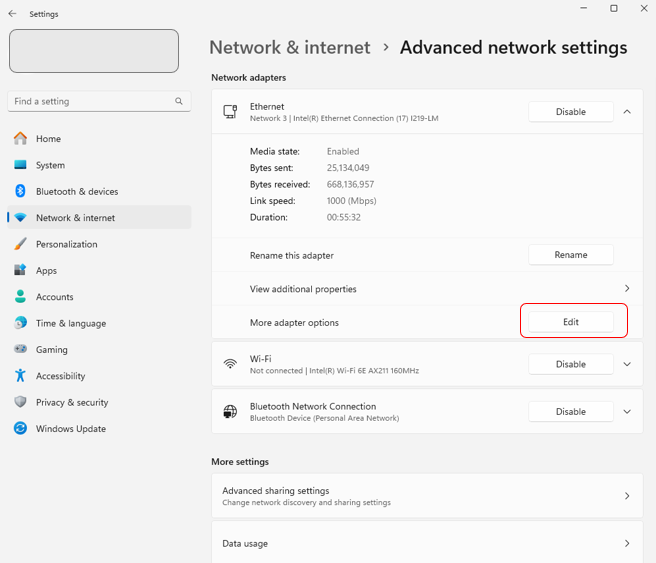
4. Click on “Edit” under the “More adapter options” section.
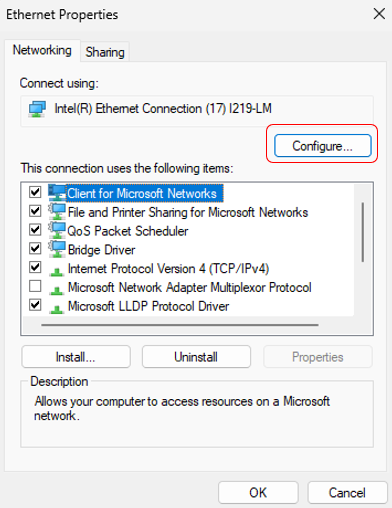
5. Disable VLAN Tagging:
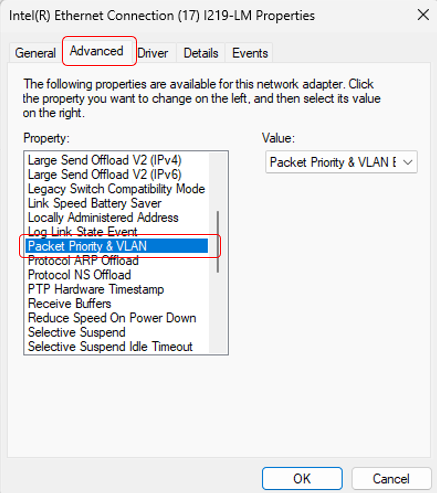
Click “Configure” next to the network adapter.
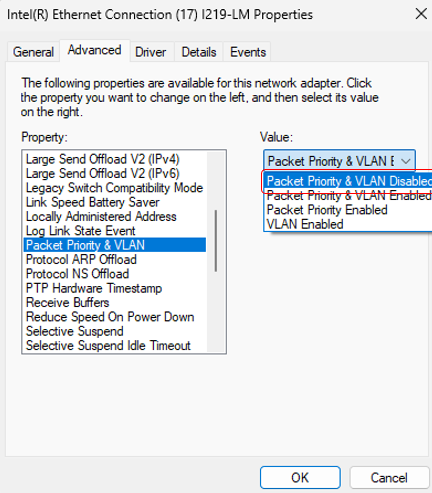
Go to the “Advanced” tab, and then look for any option related to “VLAN ID” or “Priority and VLAN” and ensure it is disabled or set to 0 (which means untagged).
6. Apply Settings:
Click OK to save changes and restart your connection.
macOS Laptop
1. Open System Preferences:
Click on the Apple logo in the top left corner, then select System Preferences.
2. Go to Network Settings:
Click on “Network.”
3. Select the Network Interface:
If you’re using Ethernet, select Ethernet.
If you’re using Wi-Fi, select Wi-Fi.
4. Check VLAN Tagging:
Click “Advanced.”
Go to the Hardware tab and make sure that “Configure VLAN” or “VLAN tagging” is either disabled or set to none.